
This is going to be a heavily picture laddened post. You have been warned.
First things first, I needed to grab the pieces to the crib... just not the drop side part. So, the back, 2 sides, & the bed frame part... thing. Hah hah. Oh! & having some help of friends {in my case my hubby & our friend} is an AWESOME plus! You'll also need wood screws, a drill, & a drill bit.


Bed pieces assemble, hoooo!
{Who gets the reference? Please don't make me feel old, hah hah!}
{Who gets the reference? Please don't make me feel old, hah hah!}
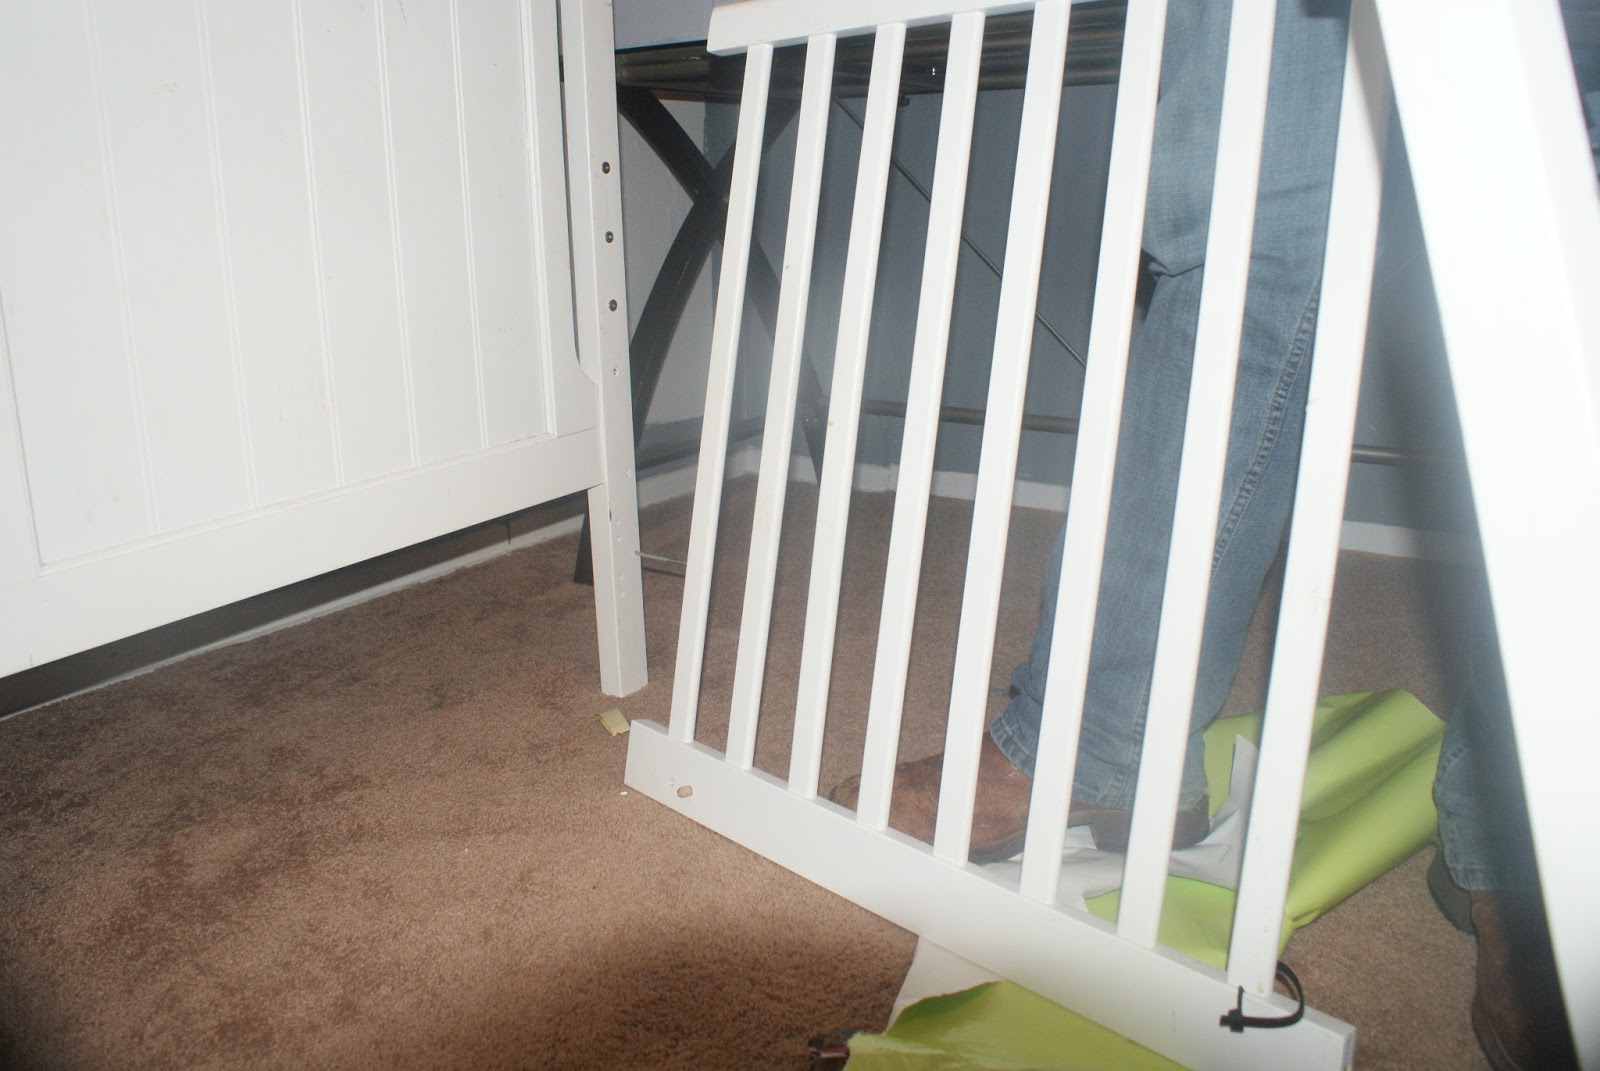
Second, put the sides of the of the crib on at the back piece at the level they would be if you were putting together an actual crib. You may need to drill another hole if you're putting it at a level where there are no screw holes, kind of like we did.


The boys hard at work, hah hah
Then place the front braces on the crib OPPOSITE of the back piece.


Even the munchkins helped!
After you get the structure done, it's time to add the bed frame part.

& tada!
 |
| Munchkins not included. |
This picture was taken BEFORE I put on the wood plank top, but you can use anything as your topper. Hubby says he's going to build me a better customized top instead of the palette planks that I am using now. Yayyy! ♥
So you don't have to spend thousands of dollars on a dresser if you know how to build stuff! So go on, give DIY a try! I'd love to see your creations!
♥ & All Things Vintage: Becca
No comments:
Post a Comment